Lessons from my first two art videos on YouTube
Filming for YouTubeThis year, I created, edited, and posted two YouTube videos — both are basic timelapses of me doin’ some art. Here they are in all their poorly lit glory:
- Sketchbook Timelapse #1: Lions in pencil and brush pen
- 🍳🎨 Gouache Painting from Hyrule: Fried Egg and Rice from Zelda: Tears of the Kingdom 🎨🍳 [TIMELAPSE]
I had one goal: record something and post it. 🎉Great success! This is a summary of lessons learned and what I will try to do better 📚next time.
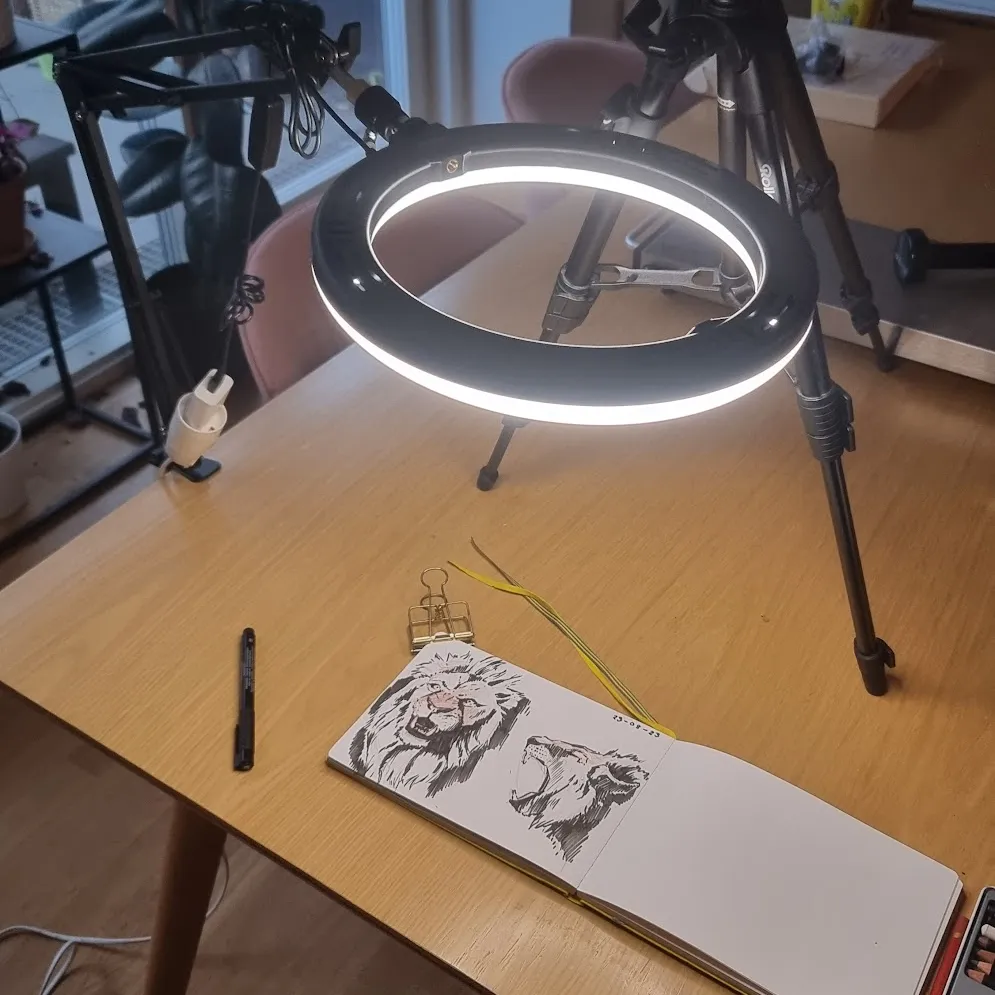
Lighting really is everything
Here’s the thing about low light:
- The camera opens its little eye as wiiiiide as it can 👁️ to let in as much light as possible
- … but it’s too dark and the camera (or you) will increase the ISO to compensate
- Unfortunately, a higher ISO means a trade off in terms of picture quality — in particular, the footage will look grainy
At the time of writing, I don’t really have a choice — I simply don’t have more💡light to shine on the problem.
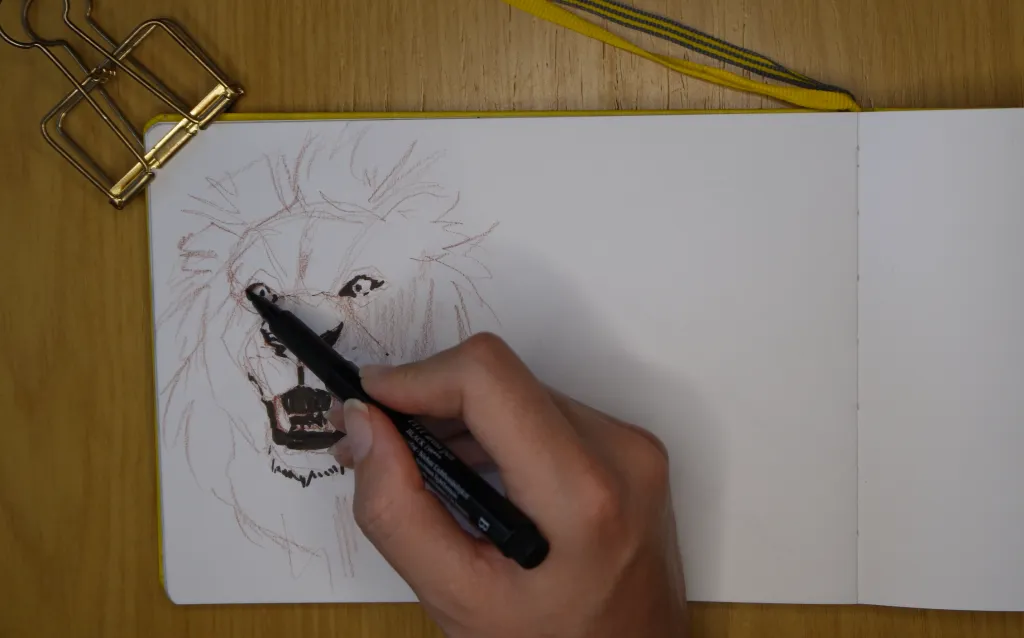
Video 1: Poorly lit room, yellow light from room light fixtures, ring light right above sketchbook
Raw footage looked like this:
Edited footage looked like this:
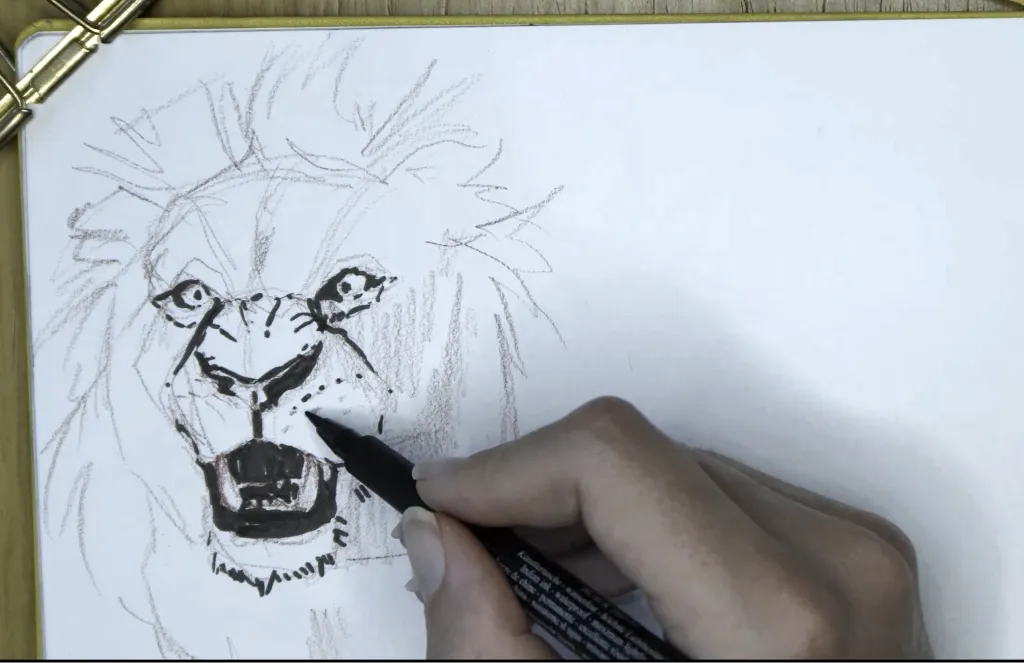
It’s not great — yes it’s brighter, but it’s grainy and way too desaturated. I made the mistake of thinking that turning down the desaturation would remove the yellow (I used Microsoft ClipChamp, which only had basic editing capabilities).
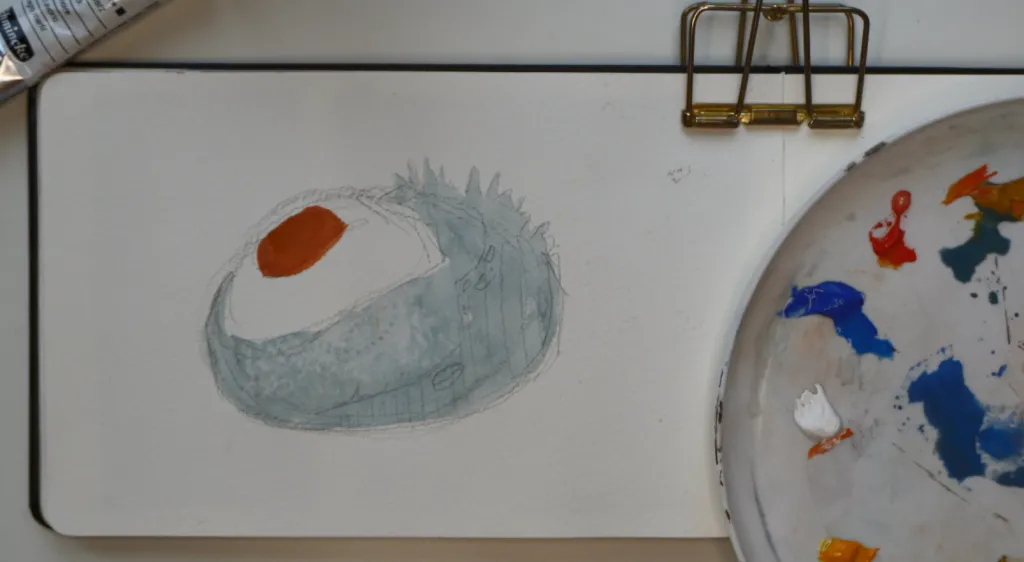
Video 2: In front of a window, in the day (early morning), ring light right above sketchbook
Raw footage looked like this:
Edited footage looked like this (primarily fiddling with contrast and exposure):
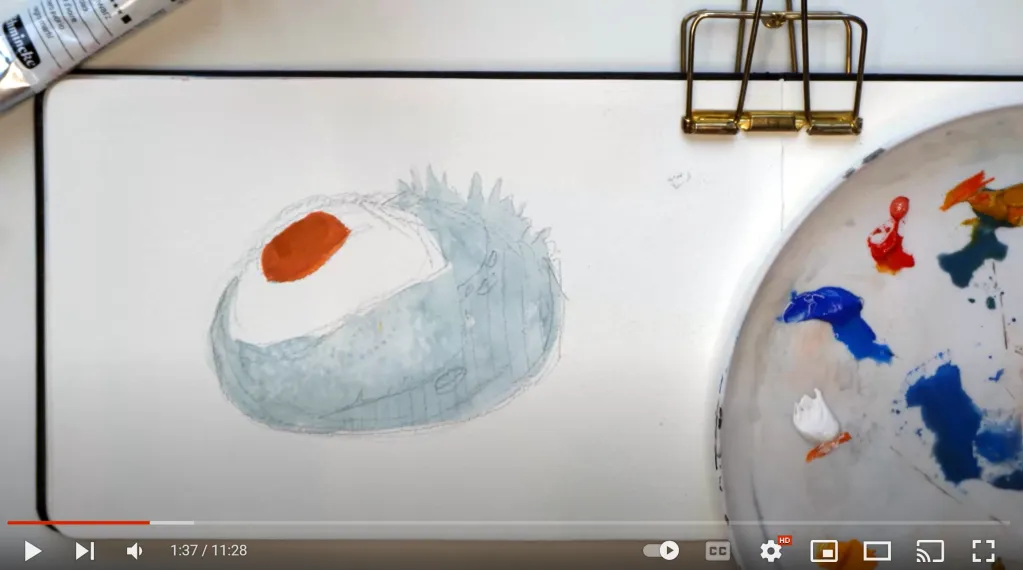
The result is better-ish, but not good. There’s something harsh about the contrast and the colors look… ‘angry’, somehow? Dark? Desaturated? I used PowerDirector for this, so I had a few more options.
My challenge is that I cannot be constrained by daylight🦇I have an 9 — 5 office job and need to be able to draw at night.
📚Next time: I have purchased a Godox SL-60IID LED Video Light and parabolic deep softbox (90cm) to get some nice diffuse light into my situation.
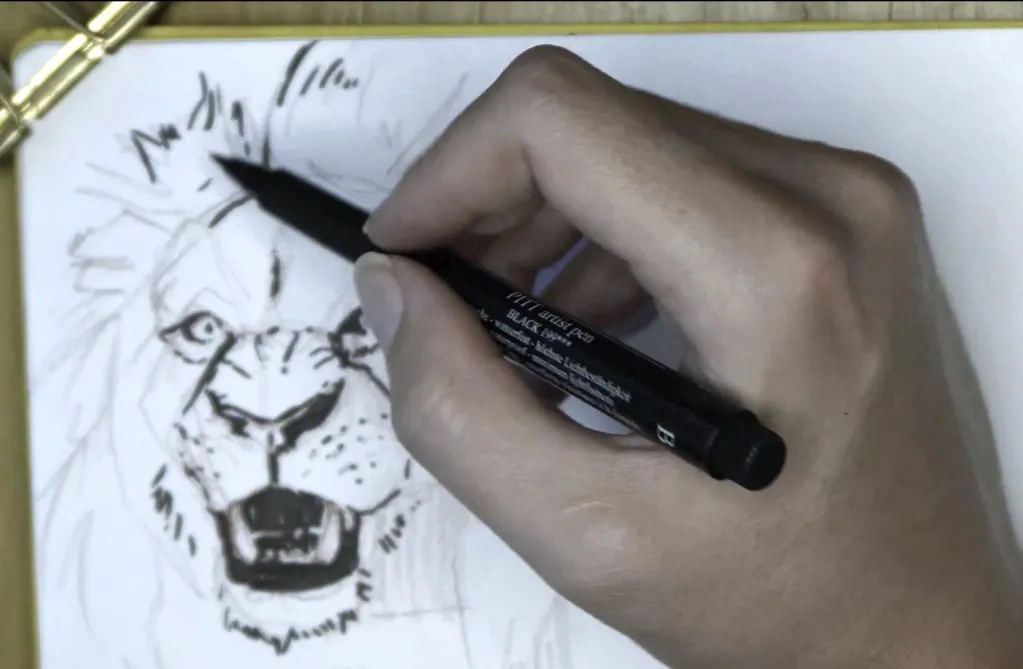
Use manual focus
In my first video, I forgot to manually focus on the sketchbook. As a result, it focuses in and out as my hand moves over the page. Easy mistake to fix!
Think before you zoom in.. when editing
My camera has ✅optical zoom — it actually zooms in by adjusting the lens, and produces a high quality image.
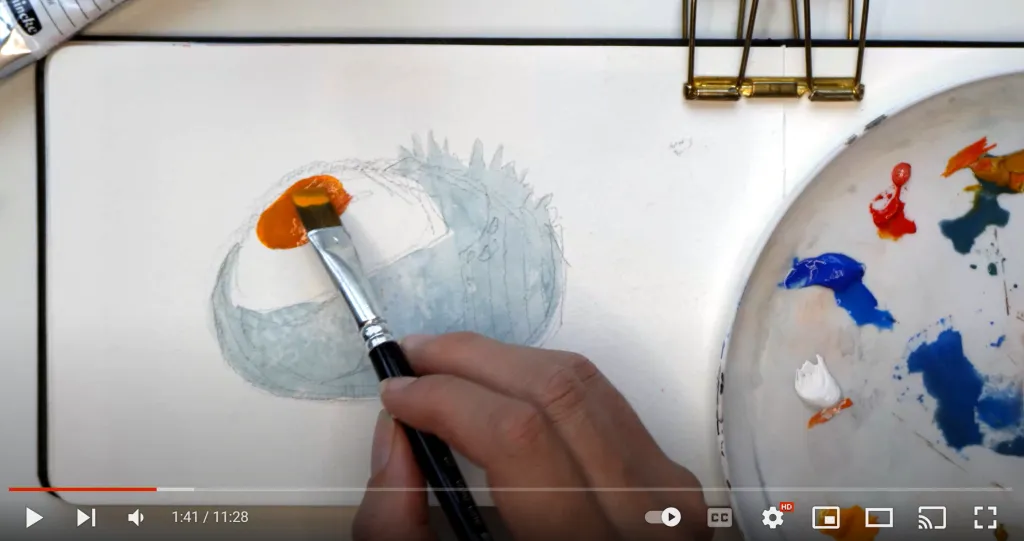
What did I do? I decided to basically ❌crop and enlarge the footage to simulate zooming in, and lost quality in the process. This might work if your video quality is high, but I was already working with suboptimal lighting:
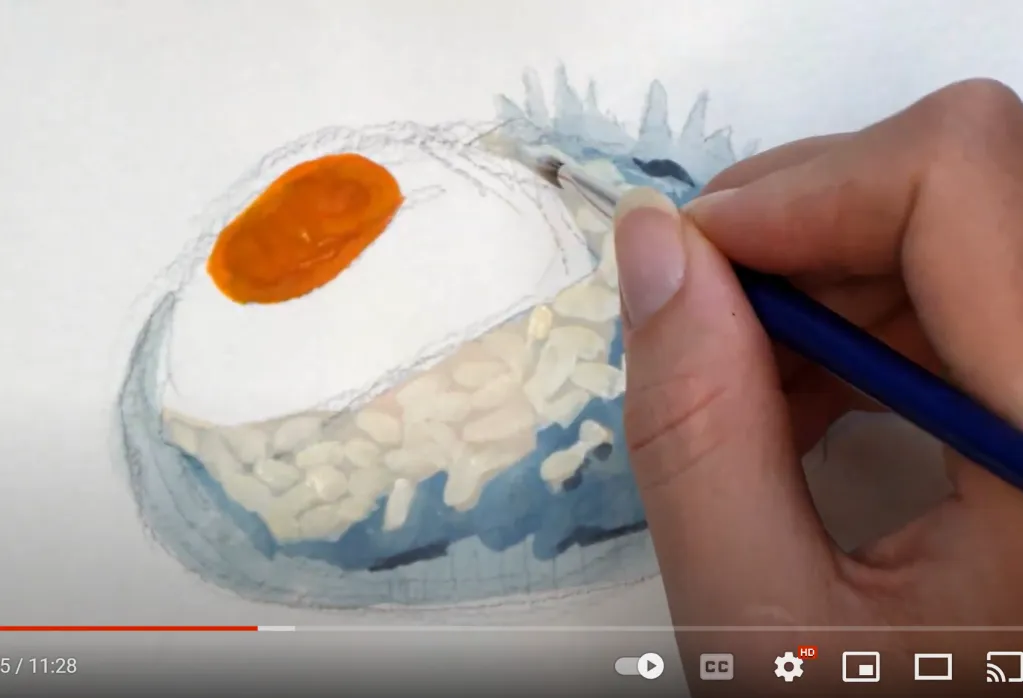
📚Next time I will zoom in with the camera if I want a close-up shot of something.
Choose a pleasant, contrasting background
I went from 💛 sad yellow (which made the yellow light look worse) to an even sadder 🤍 white (which did not contrast enough with the sketchbook).
📚Next time I am going to use this old shelf as a table topper. You can also buy a matte wood effect desk pad or vinyl sheets of some kind.
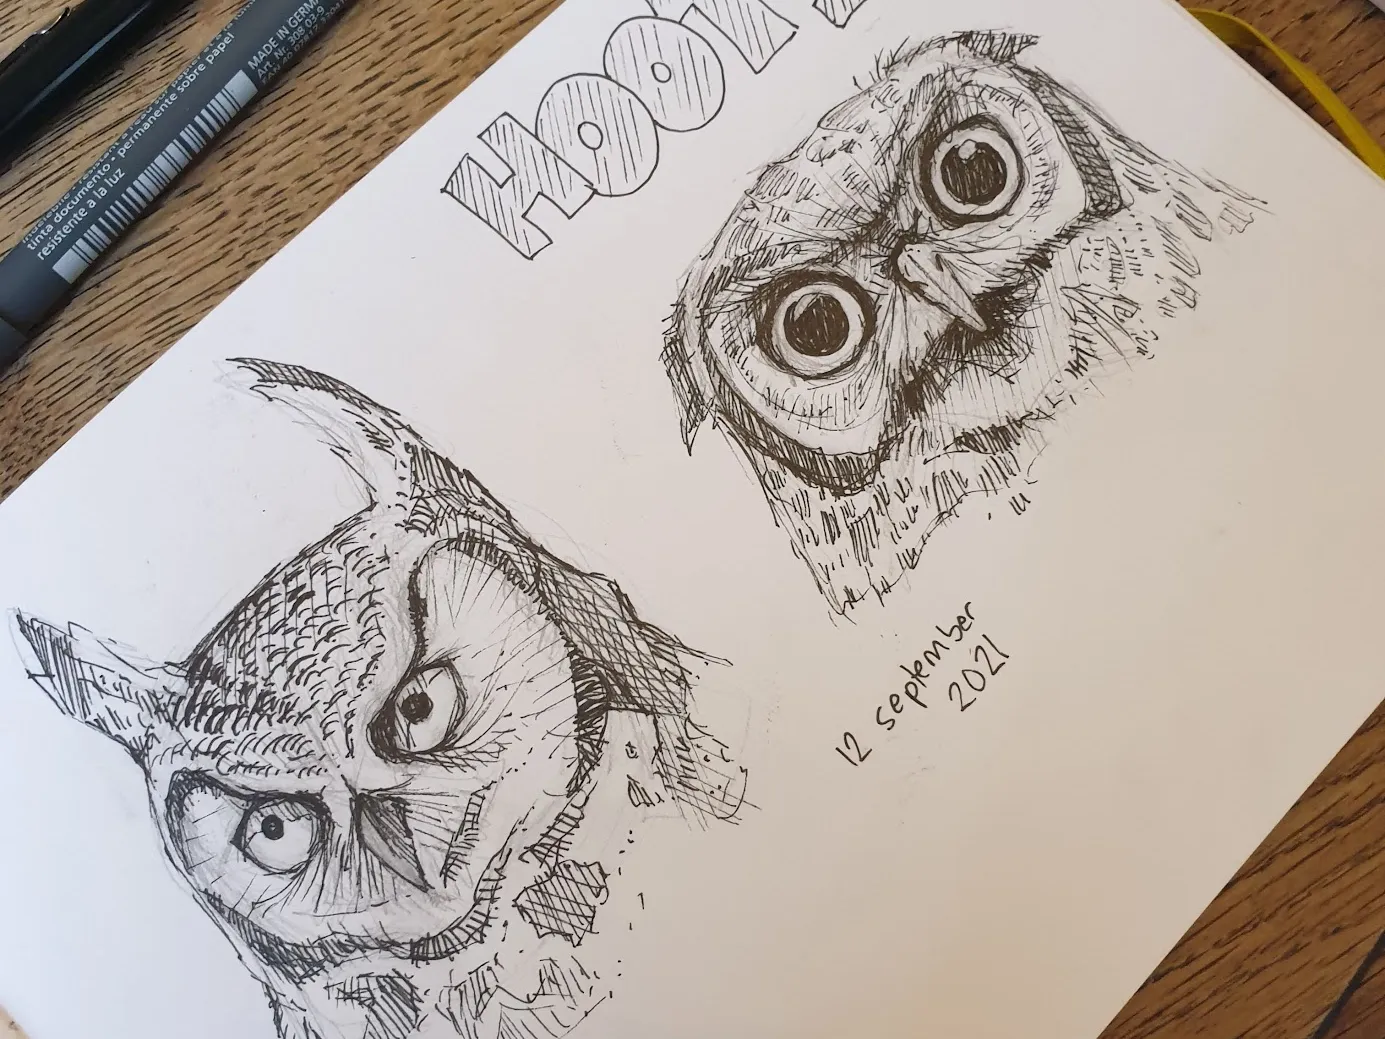
A bit of clutter is actually quite nice
I regret zooming all the way in. I suspect I was trying to make up for lack of quality by making it worse:

Taking the time to design a decent thumbnail
I’m not sure if the thumbnail makes a difference yet — I posted the videos on different days, at different times of day, and they even though they are both timelapses, they detail with very different subjects.
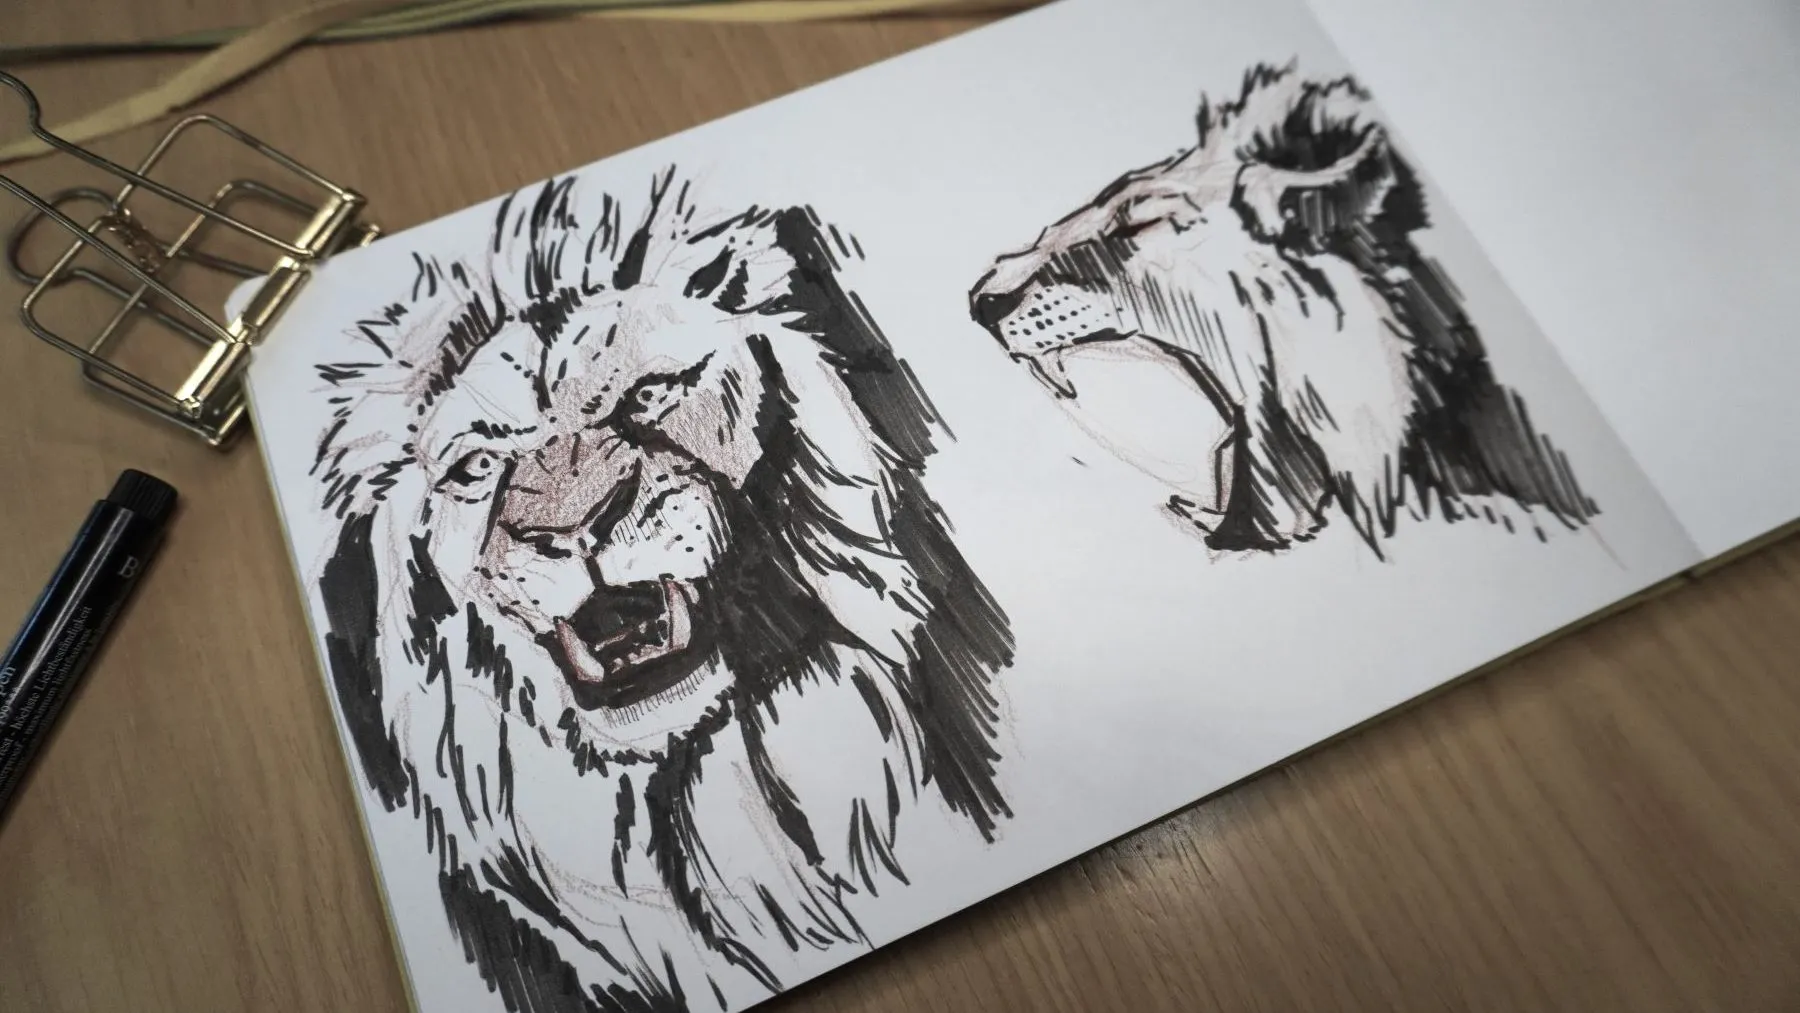

📚Next time I will stand on the shoulders of giants — my favorite art YouTubers focus on getting a good shot of the art and some include text, but not all. The second thumbnail is not far off.
Key takeaway
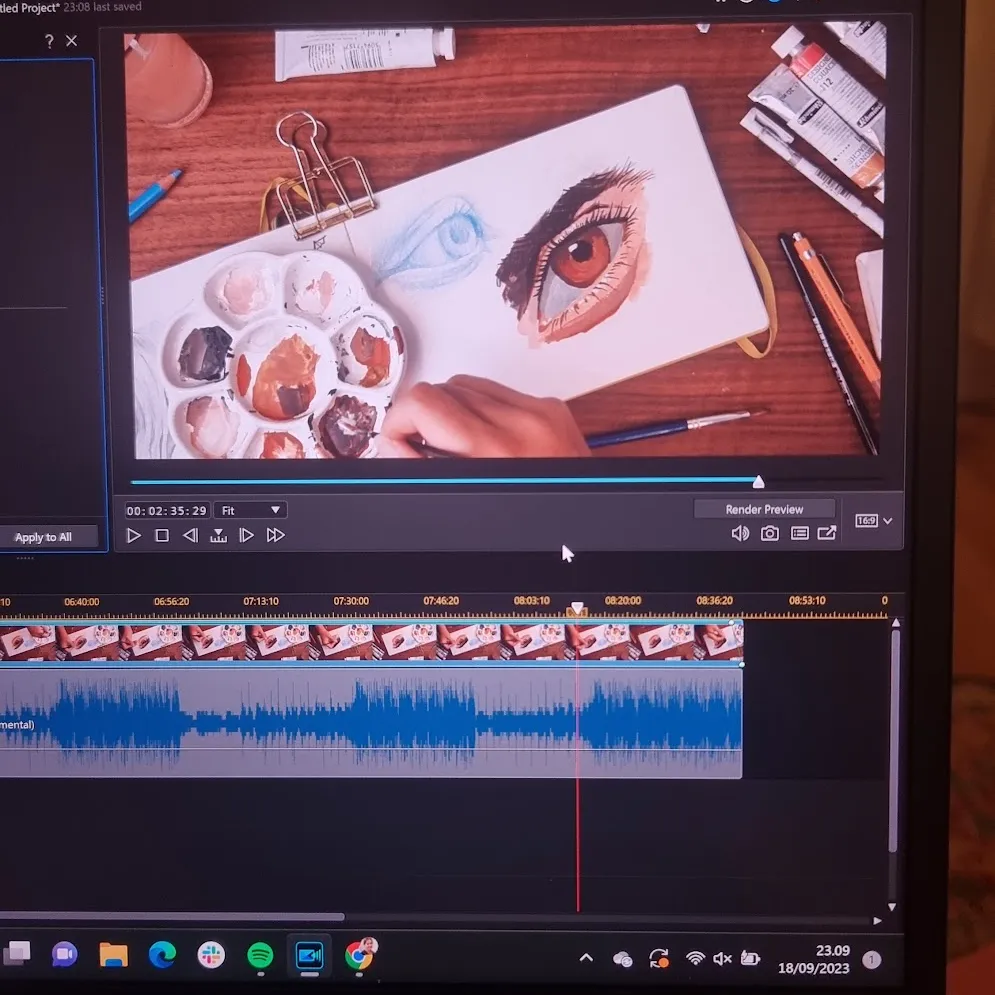
Lighting, lighting, lighting. I shot a test video with my new and improved lighting situation after writing this post and all I can say is that I’m a lil’ bit in love:
Tools used
- Camera: Sony ZV-E10
- Lights: Ring light with desktop arm stand
- Microsoft ClipChamp (video 1)
- CyberLink PowerDirector (video 2; trial only)